


FEATURED GAMES
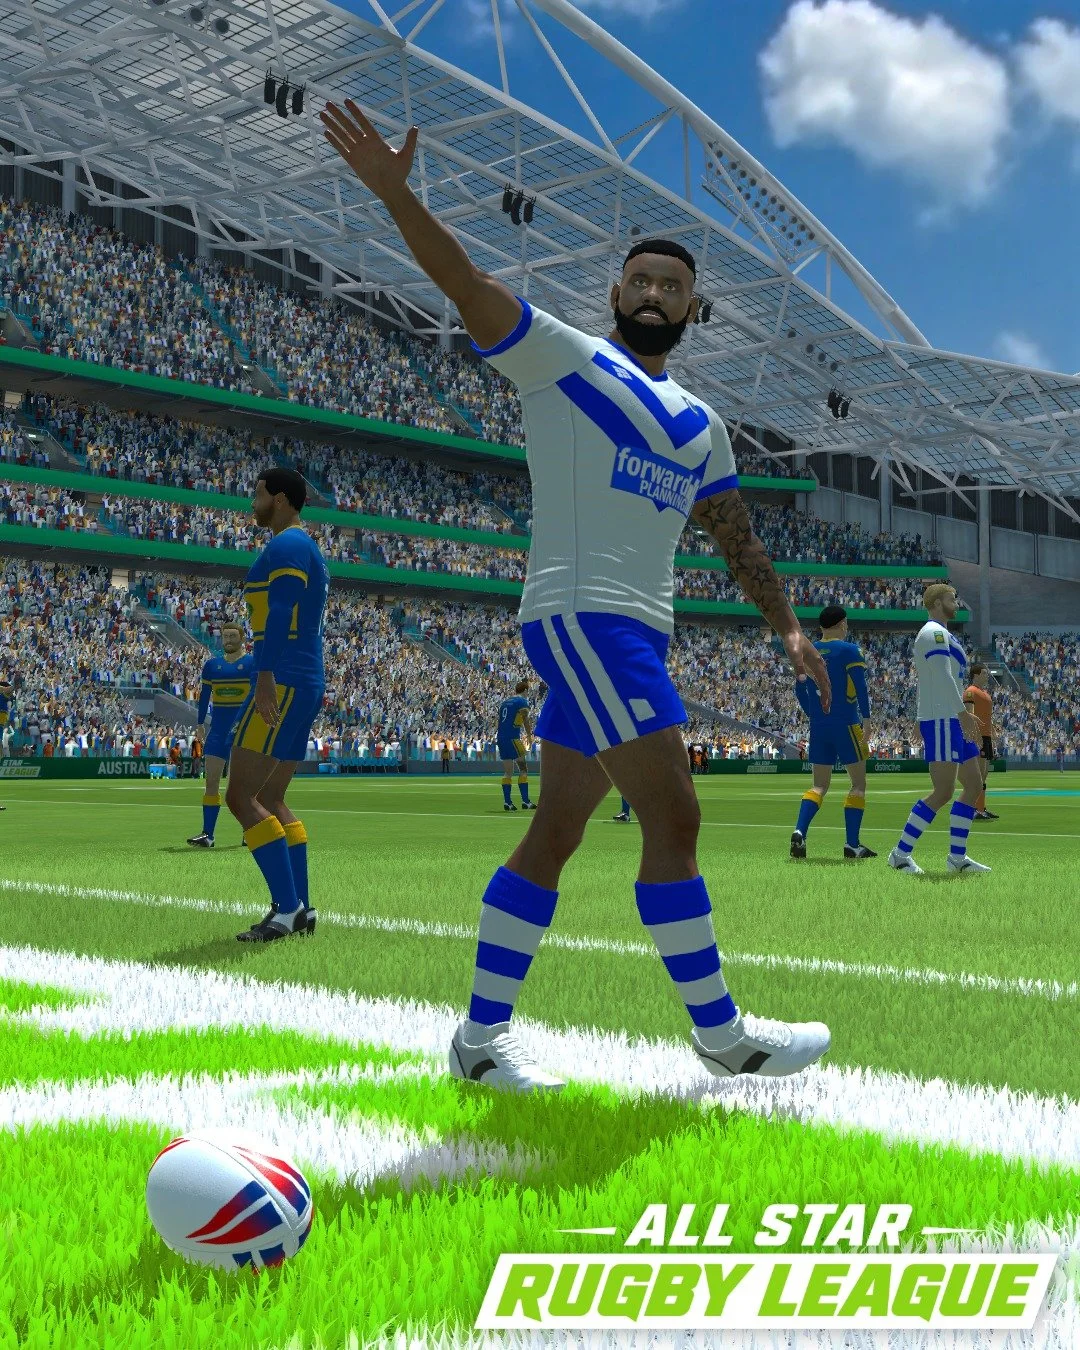
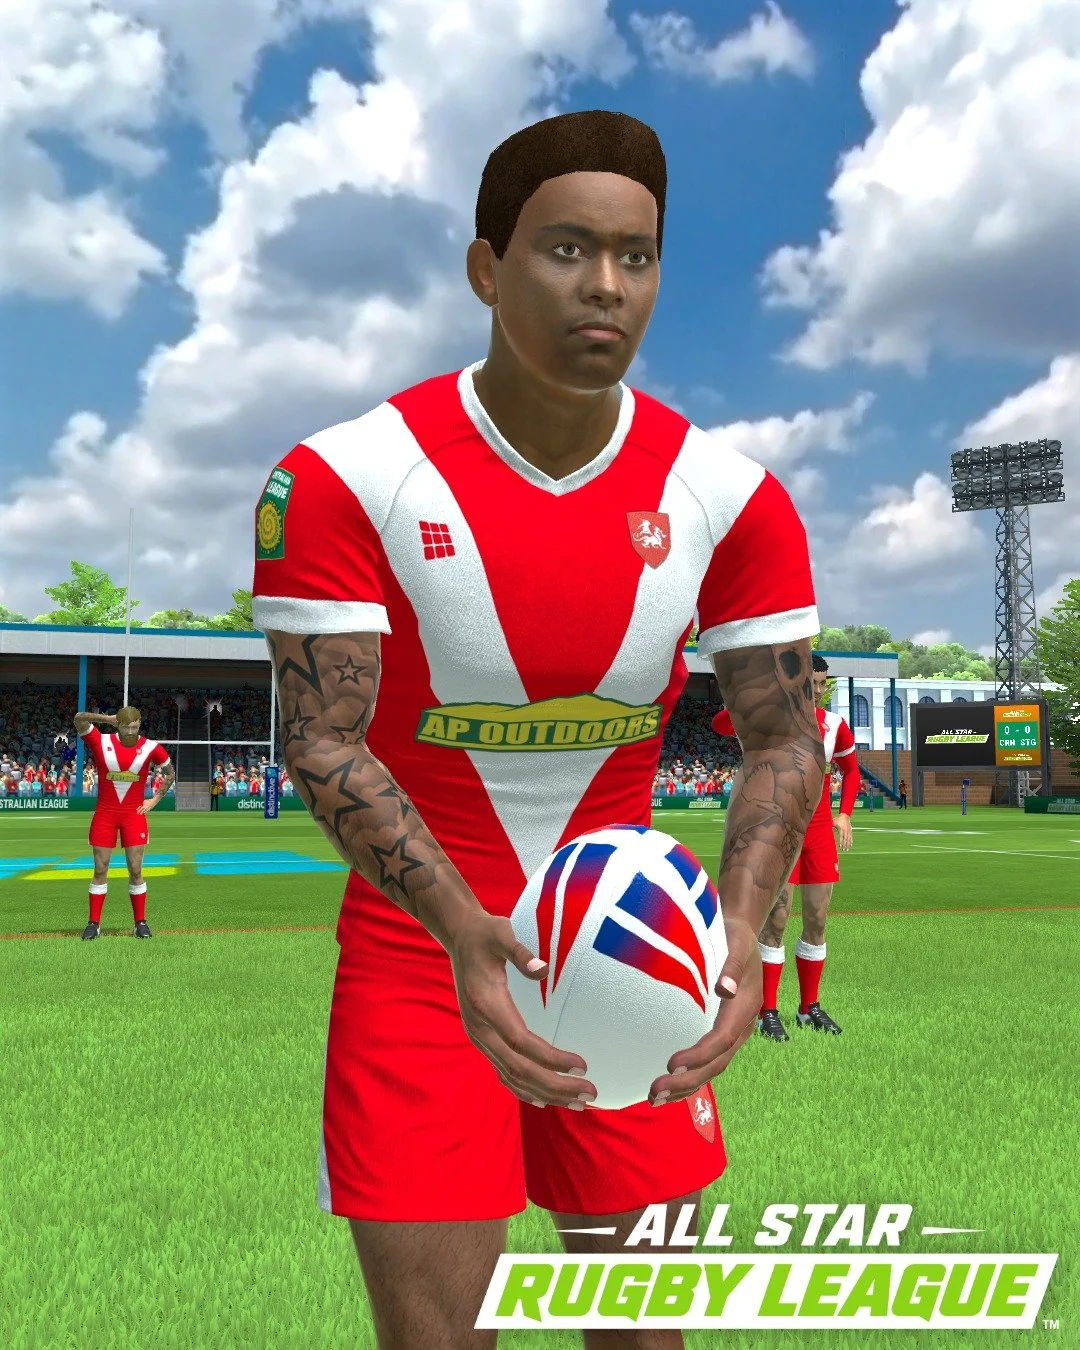
ALL STAR RUGBY LEAGUE
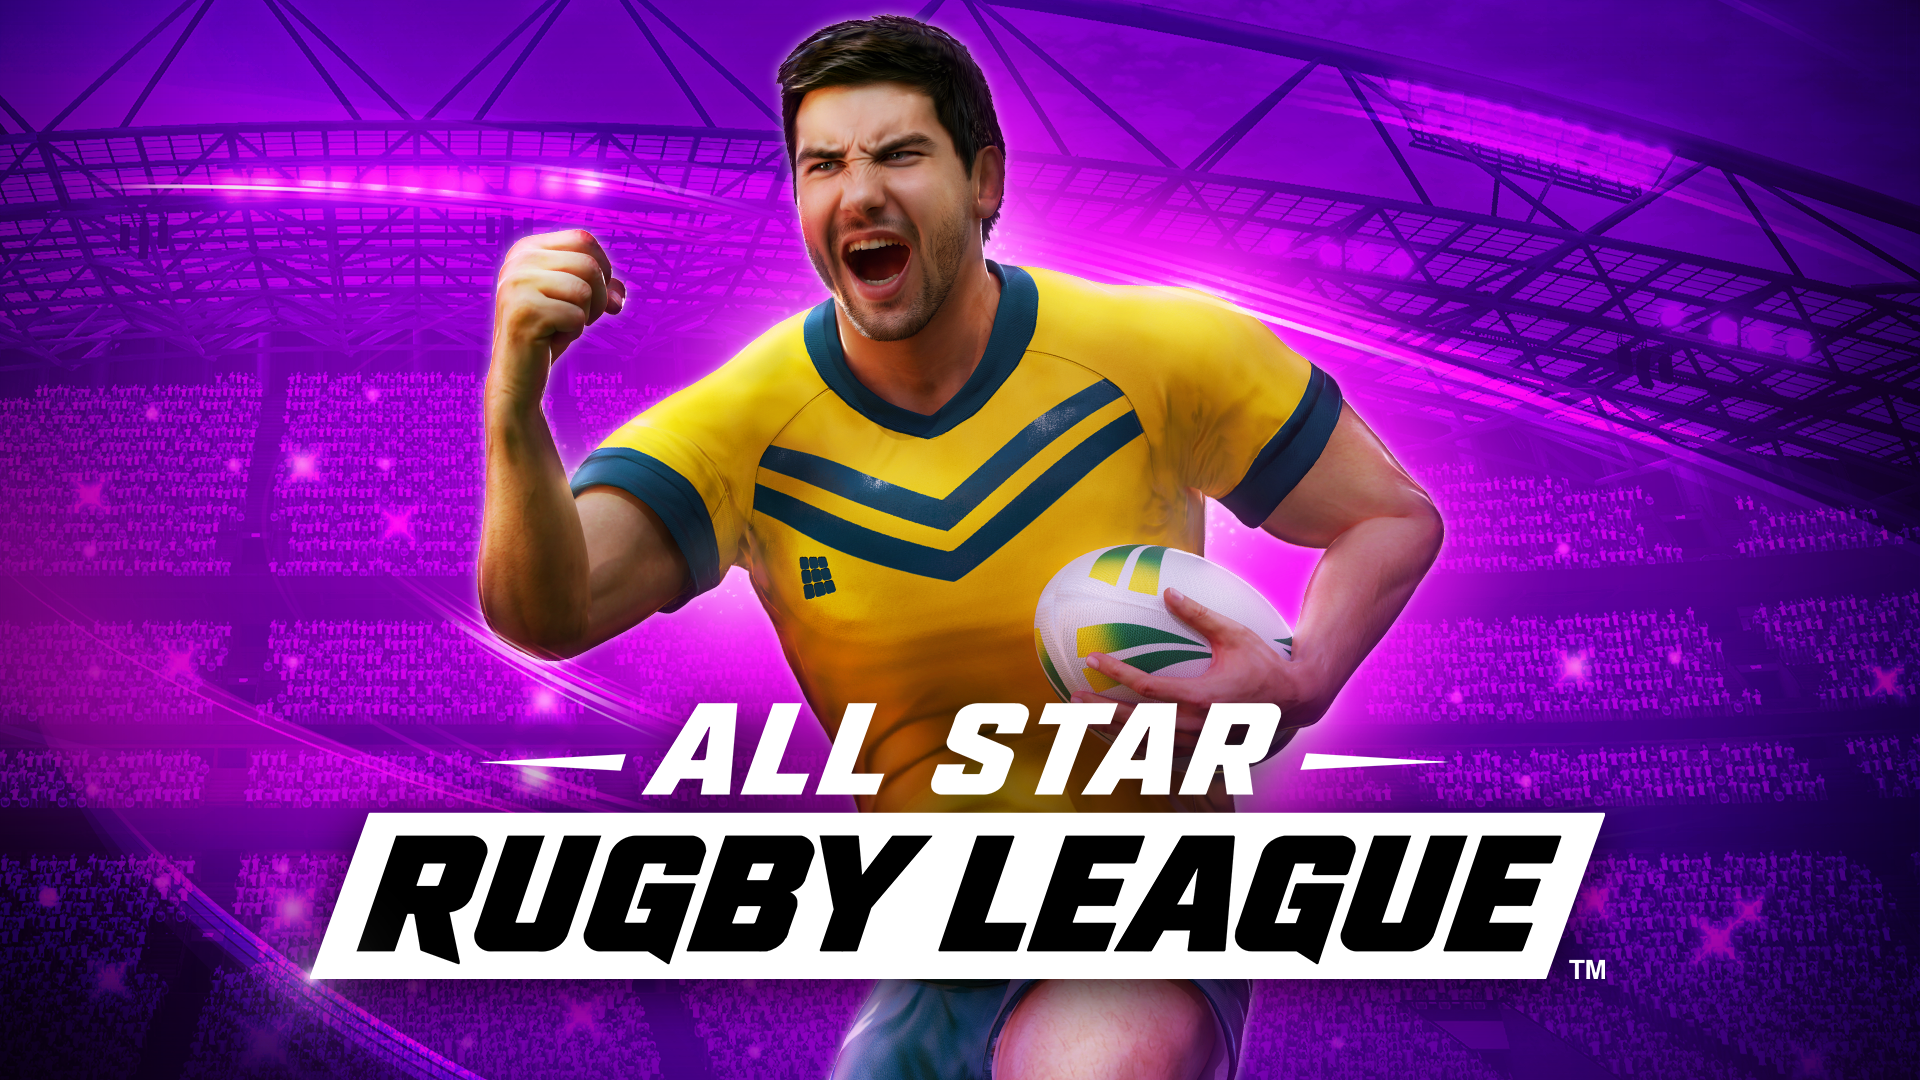
BUILD YOUR ULTIMATE RUGBY LEAGUE DREAM TEAM
HOCKEY ALL STARS 24
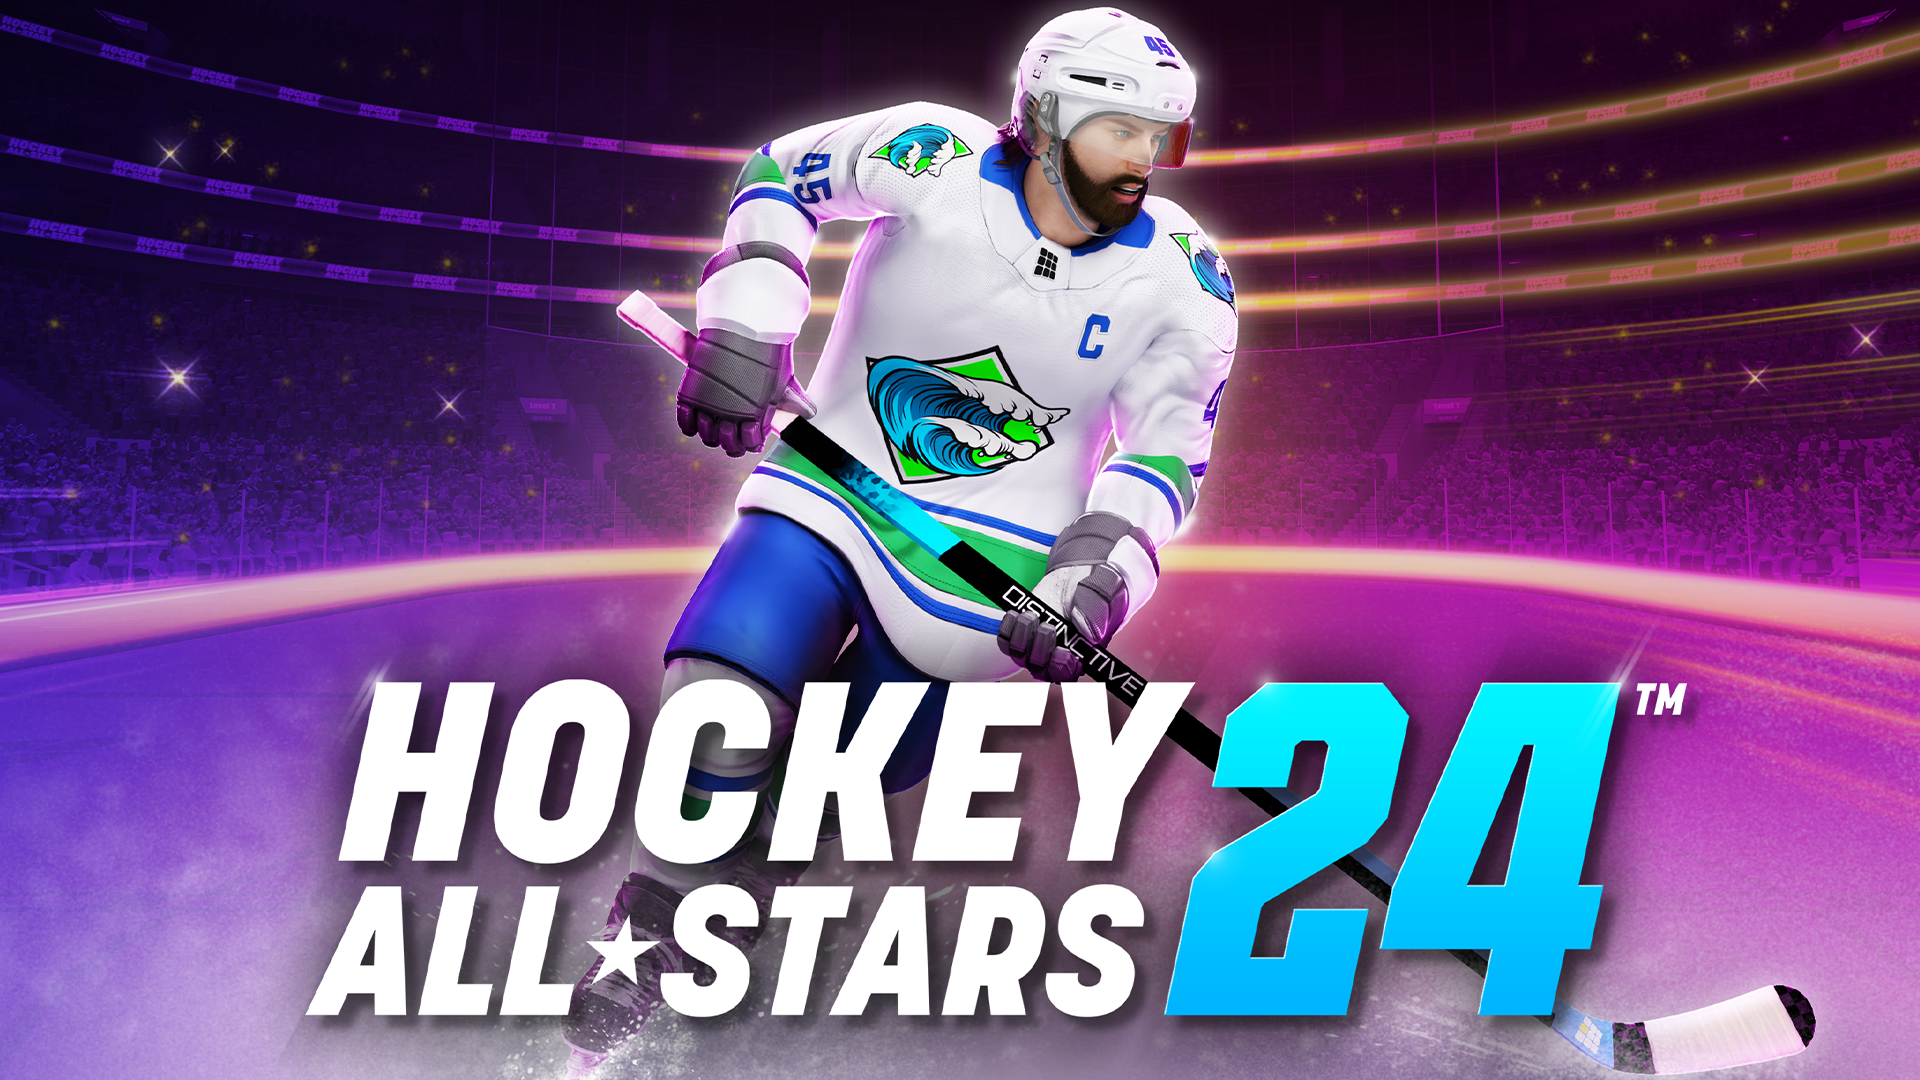
BUILD YOUR OWN HOCKEY TEAM AND TAKE ON THE WORLD
RUGBY NATIONS 26
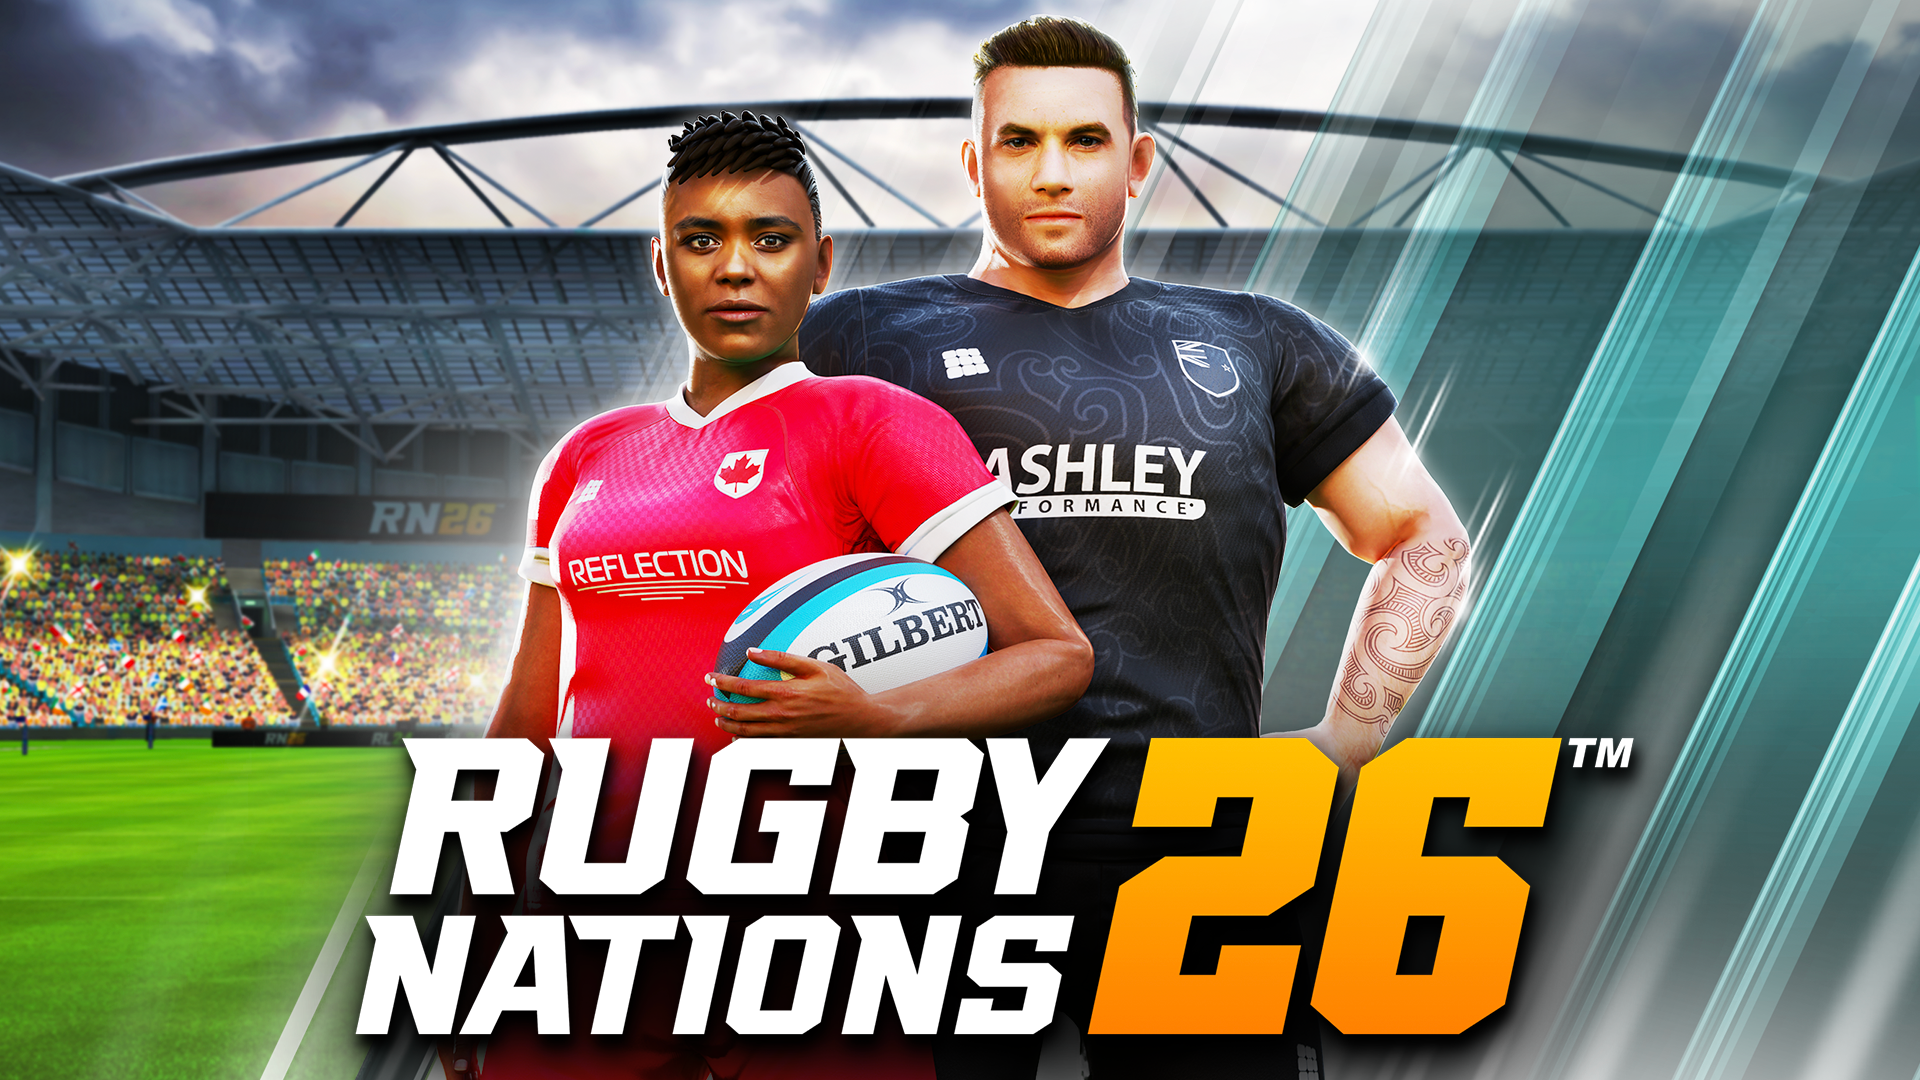
EXPERIENCE THE RAW INTENSITY OF RUGBY UNION
NEWS
RECENT BLOG POST 2ND JUNE 2026
ALL STAR RUGBY LEAGUE

MAJOR RELEASE
RECENTLY ON OUR SOCIAL MEDIA


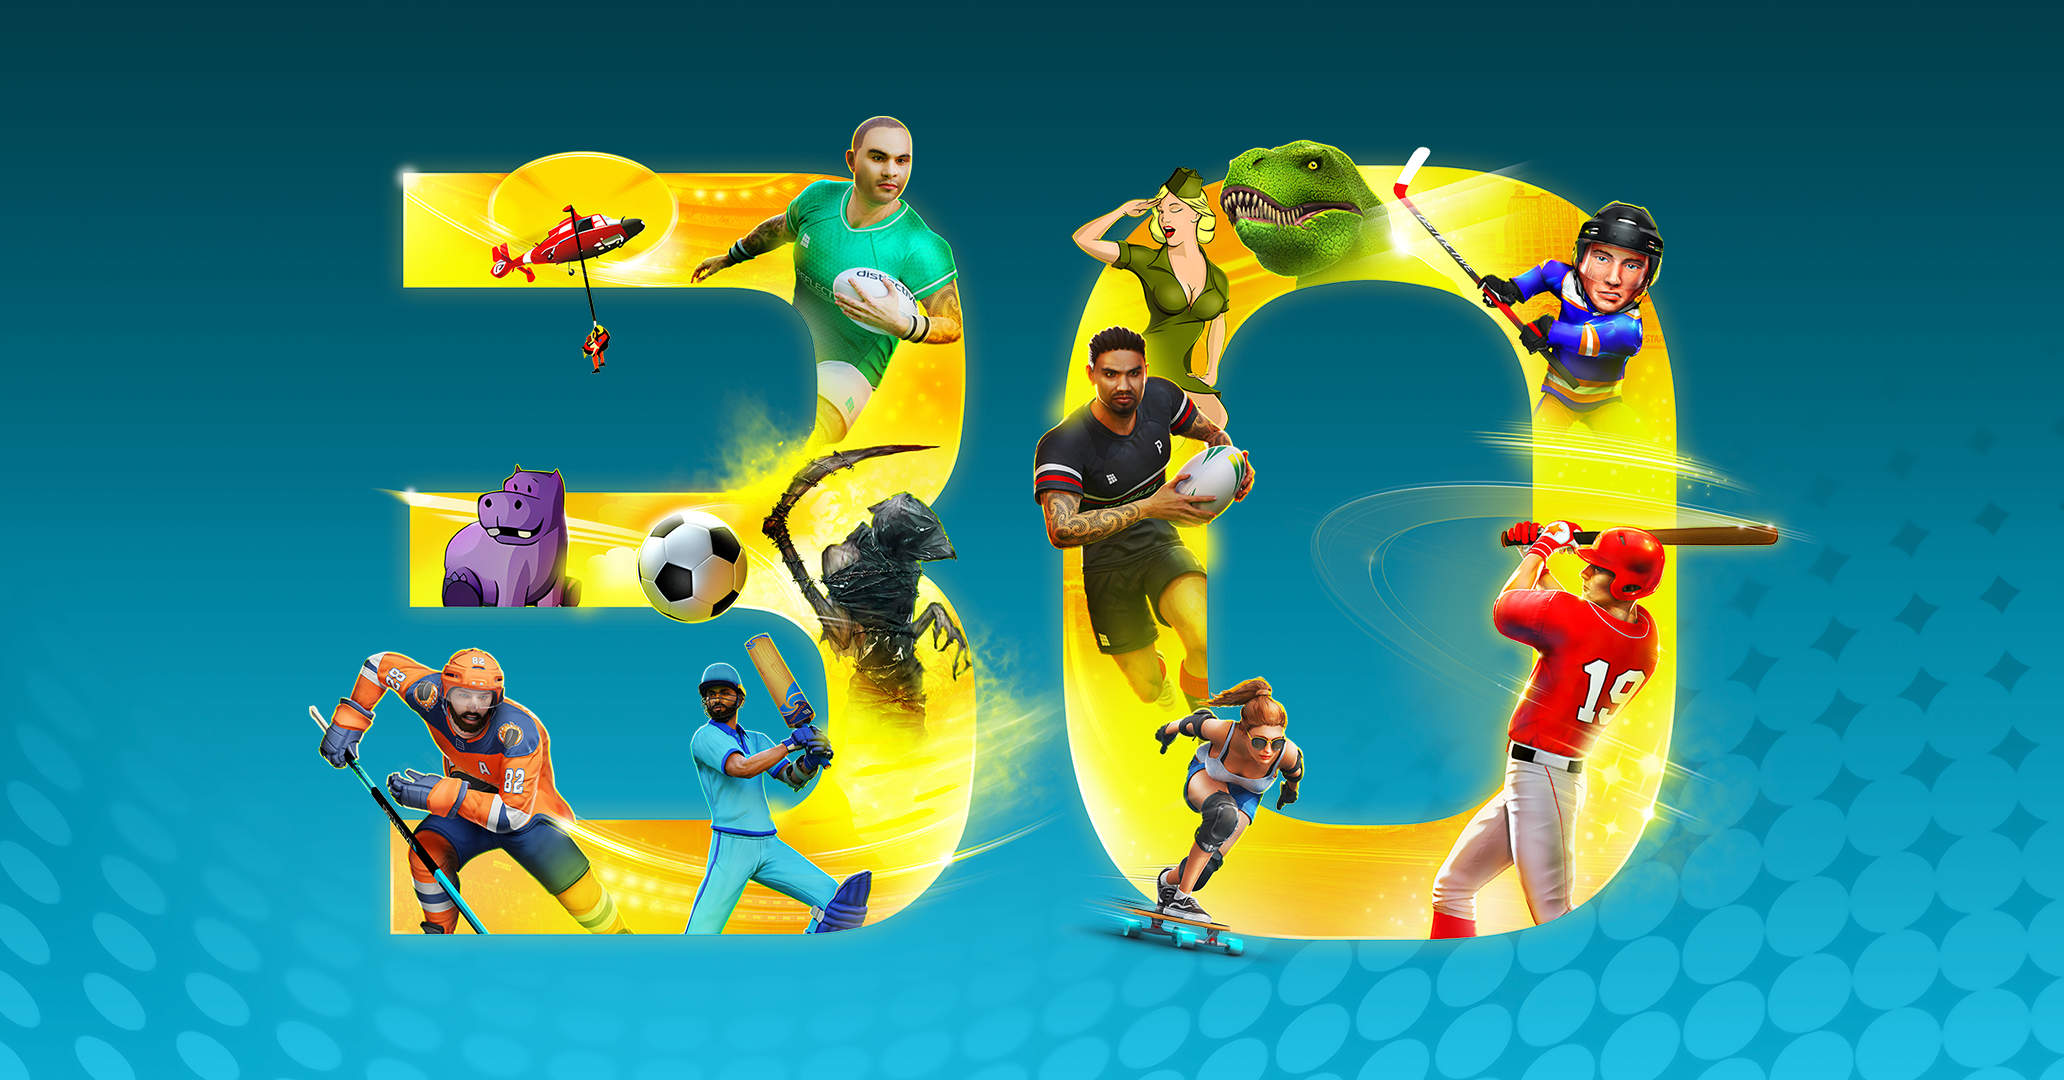
SPORTS GAMES FOR EVERYONE
Distinctive has been creating games for over 30 years. We focus on bringing highly entertaining sports games to life on mobile devices and beyond.
NEW COLLECTION
Represent your favorite mobile games in style. Whether you're a rugby fanatic, hockey hero, or just love intense sports action!

